


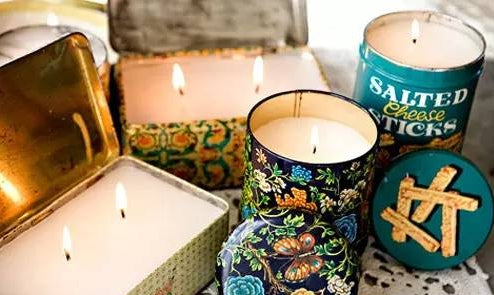
DIY retro bottled candles to restore the original beauty

DIY bottled candles are a very good idea. They can not only decorate the room, but can also be given to friends. After a few simple steps, I believe you will fall in love with making candles by yourself.
Material:
-Metal bottles and cans
-wax for candles
-candle wick
-Wax core holder
-Double boiler
-Wooden chopsticks or bamboo skewers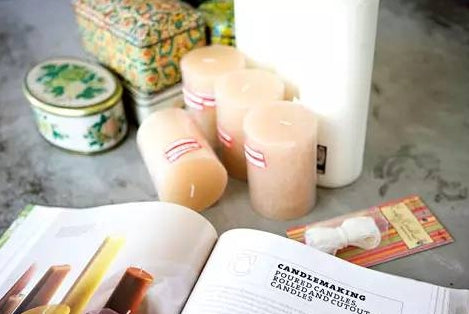
Production steps:
1. First wrap the candle wick with a thin layer of wax. Melt a small amount of wax, dip the unwaxed candle wick into the wax juice, take it out and let it dry.
2. Clean the bottle and jar, put the first bit of wax on the wax core to fix it on the bottom of the jar, wrap the wax core several times with chopsticks, and place it on the bottle and jar.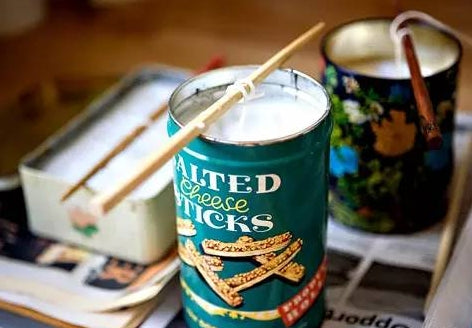
3. Use a double boiler to melt an appropriate amount of candle wax. Be careful about the heat when melting. The candle will not boil but it is also very flammable. You can melt regular scented candles to build up the amount of wax you want.
4. When the candle melts, pour it into the prepared jar. If the top of the candle does not dry smoothly near the wax wick, there may be air bubbles present. At this time, you can use chopsticks to insert the candle while it is still soft to release the air inside. Add more melted wax on top to smooth it out.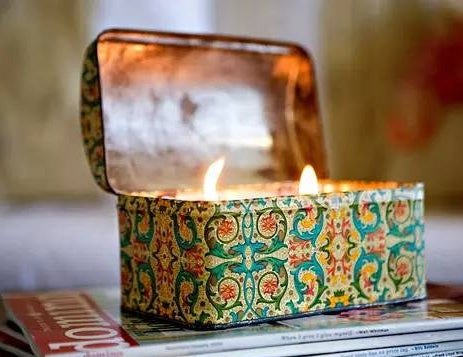
5. Let the finished candle dry for approximately 24 hours. Trim the exposed wax wick neatly, and then you can enjoy the endless fun these handmade candles bring to you~